On-demand tips are one of the best ways to help users learn. They appear on the page clearly, stand out from the background, but aren’t intrusive enough to interrupt the user’s workflow.
With Nickelled Flows, you can already add guidance to your page easily, without adding extra code. This week, we’re introducing Hotspots to all users on our on-page Flows product.
Hotspots (sometimes known as tooltips) are an easy way to provide clickable, unobtrusive guidance for key elements on your page.
Hotspots display as a small pulsing circle on the page, and respond to when they’re clicked.
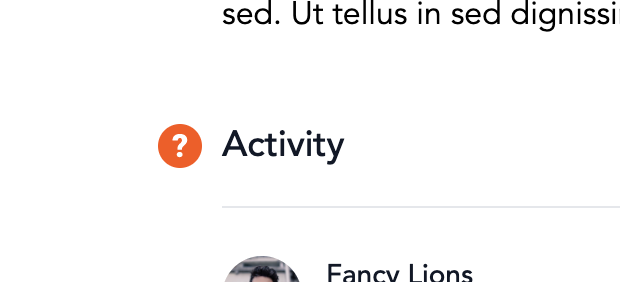
This is a great way to communicate key actions or concepts on your page, and to provide more information to users. They don’t block any part of the user interface, so they’re great when you’re drawing attention to features but don’t want to distract users who might already be on a journey.
Hotspots can be added next to any element on your page, and they can be triggered by clicking, or tapping.
You can also hide them after a user interacts with them, therefore ensuring that they only show up when they’re most useful.
You can see a demo here.
How can I use Hotspots?
In our on-page Flows tool, you can now use Hotspots to trigger tours – so when the user clicks or taps on a Hotspot, they can be taken through a step-by-step guided tour of the page.
This is a great way to trigger a broader tour, but it can also be used to provide a single useful piece of context.
For instance, you can add a Flow comprised of both a Hotspot and a single step, turning a hotspot into an effective ‘tooltip’ on the page.
This is a great way to make sure that your most novice users get the guidance they need, without bombarding experienced users.
Other great use cases for Hotspots include:
1) Providing context for menu items
2) Highlighting key actions or concepts on your page
3) Providing more information about specific elements on your page
4) Providing a fun, interactive way to introduce new users to new features of your product
5) Influencing user behaviour and prompting the user to click to be taken elsewhere, since Hotspots work with redirect rules (which are part of Flows)
How to set up Hotspots
Setting up Hotspots is easy. You can add a Hotspot to any element on your page.
1) Click the ‘Add Hotspot’ button in the Nickelled Flows sidebar.
2) Select the element on the page next to which you want the Hotspot to appear. You can either do this using text search, or by providing a CSS path to the element
3) Position the hotspot by selecting whether it should appear above, below, to the left or to the right of the element on the page
4) Save the hotspot, and add the next step. This could be a bubble, a dialog, a UR
Styling Hotspots
You can use CSS customization to make Hotspots appear native to your product – simply ask us for details on CSS overrides and we’ll help you get set up.
Targeting Hotspots
Because Flows can be controlled with both user targeting and page/element targeting, you can specify certain audiences to see your Hotspots.
For example:
- Show a hotspot to users who haven’t used a feature yet
- Show a hotspot to nudge certain users to explore a different area of the app
- Show a hotspot to new users but not old ones
Not only do you also have fine-grained control over who sees hotspots, you can also select how many times they see them.
You can make a hotspot disappear after a user interacts with it, or ensure it’s persistent on the page.
How will you use Nickelled Hotspots? Try them out in your account now, or contact our sales team to find out more!